
Internal bonnet release
Click on the images to enlarge
Fitting an internal bonnet release mechanism to the Mini.
The annoying thing about older Minis is that anyone can walk up to one and pop the bonnet open. For some reason the designer saw fit to place a lever on the front of the car sticking right out of the front grill. This lever releases the bonnet granting access to the engine bay.
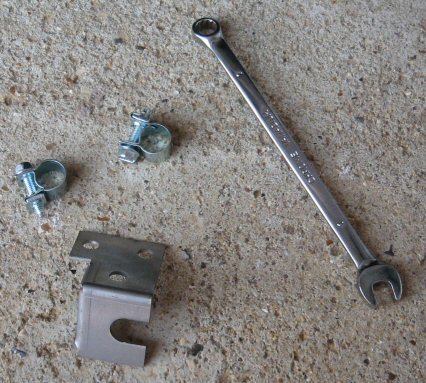
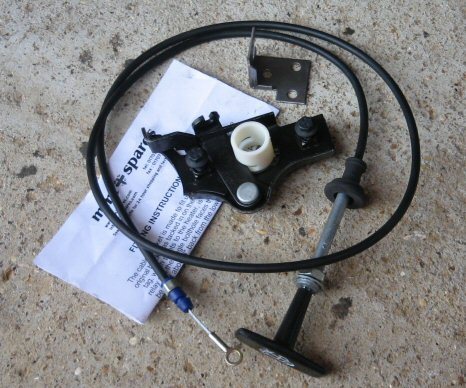
Later models have an internal bonnet release mechanism fitted as standard. A conversion kit is available for older models so I bought one online. It included the cable with knob, dashboard bracket and replacement bonnet release mechanism. No bolts or anything which was a pain. I managed to source some nut and bolts that would fit the bracket by removing them from some petrol hose clips I had lying around in my tool kit.
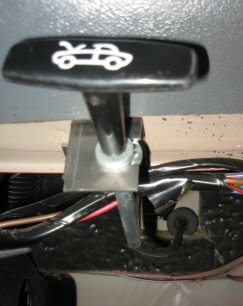
The instructions said to mount the bracket under the bottom of the lower dashboard shelf about 5-6 inches from the drivers door and 3 inches back from the front lip of the shelf. There was already something mounted in this position on my car so I mounted it nearer to the steering column where there were already two holes in the metal shelf. I removed the triangular cardboard covered in cloth that was the parcel shelf on the right under the air vent. I screwed the bracket in place.
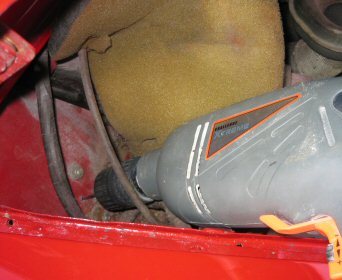
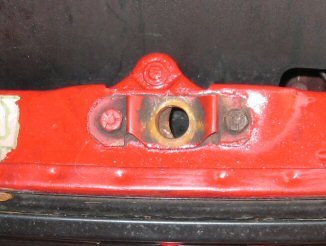
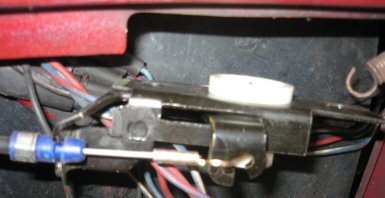
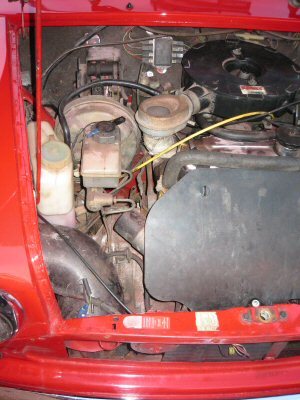
The instructions recommended drilling a hole through the bulkhead near the brake server mounting, above the cross member in the engine bay. I disconnected the car battery and reached under behind the dashboard and removed the sound proofing. I figured out the best place to drill a hole. Using an electric drill I drilled from the engine bay into the car through the bulkhead. I used a 3mm drill bit at first. This is so I could confirm that I was drilling in the right place by making a little dent and checking for the bump on the inside. I used a 12mm drill bit next to make the hole and fed the cable through.
I then connected the cable to the bracket under the dashboard and used the rubber sleeve on the cable in the drilled hole to protect the cable. I fed the cable through the triangular metal plate between the right wing and cross member, behind the washer bottle and across to the front of the car to the release mechanism.
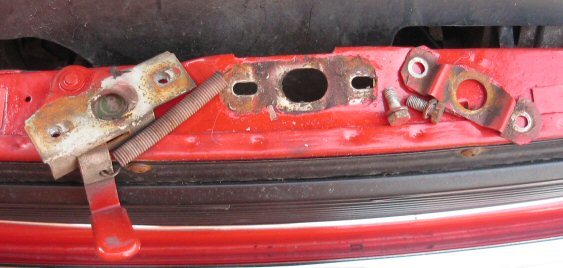
With the old mechanism removed and the front grill off I connected the cable and the spring and slid it in place. You have to use the old plate that goes on the top and screw the two threading bolts into the mechanism to secure it in place.
Next you have to test the mechanism. If the bonnet wont open you can use a screwdriver to release it. Make sure you still have the grill off although there is some access through the old lever hole. If the cable is stiff you have to reposition the release mechanism to the right as you face the car. If it is too loose then move it to the left.
Once happy with the action, replace the grill and voila! Next step is to get a new grill with no access hole.
With the battery disconnected I took the opportunity to replace the positive battery terminal with a new one I had bought recently. The old one was too small, probably a negative terminal connector that the body shop had fitted.
The only hassle I had in the end was that I'd knocked that accordion-like tubing under the dash on the drivers side that feeds into the heater. It's a right pain to get back on.
Did you enjoy this article or find the information useful? Help keep Dave and his articles online by keeping him fed with coffee by clicking the link below. Cheers!

Next page - Treating the sills and replacing the air filter
Previous page - Fitting a new fuel line
Back to the Mini Project Main Menu

This website uses cookies. Click here to learn more about how and why we use cookies.