
Front bodywork and bumper
Click on the images to enlarge
I finally managed to nail down one weekend to spend on the Mini. So Friday night after work I tidied up the garage and made room for the Mini. Then I stored it overnight so the elements won't affect it come the morning.
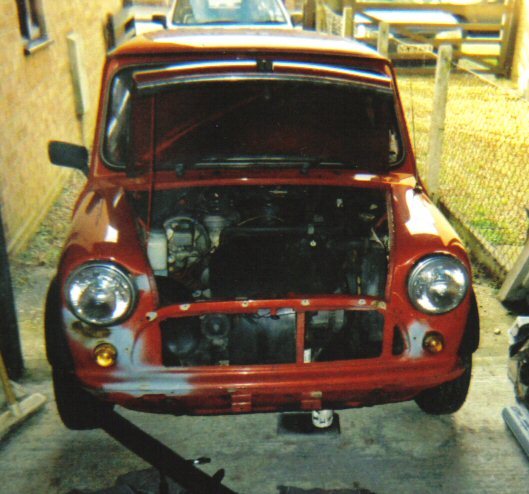
Saturday morning I started to remove everything from the front of the car. The first thing I tried to remove was the old rusted black City bumper. The O/S bolt has been bent by a collision and was rusted in place and no amount of WD40 and elbow grease was going to shift it. So I turned to my favourite tool in my tool box, my junior hacksaw! It took me a while but I finally managed to sheer the nut and bolt off so that I could remove the bumper.
I then removed the number plate and the indicator units. The latter turned out to be full of water which explained the funny indicator blinking patterns.
I tried removing the chrome headlight surrounds but the O/S units screw head had lost its threads. I tried everything to get it off even drilling out the head of the screw but to no avail. A slip with a screwdriver snapped off the mounting that the screw screws into. Bugger.
I took off the N/S chrome surround and noticed that in the past, that side mounting had sheared off too. The previous owner had then had the ingenious idea of using a rawal plug bent into a V shape to replace the broken mounting. You see, the two pieces of plastic were ideal for inserting a rawal plug into and then bending up and outwards. You then fit the chrome cover and screw it into the rawal plug and it holds it in place. Suffice to say I used this 'fix' on the side I had broken. Saved me the expense of a new headlamp unit.
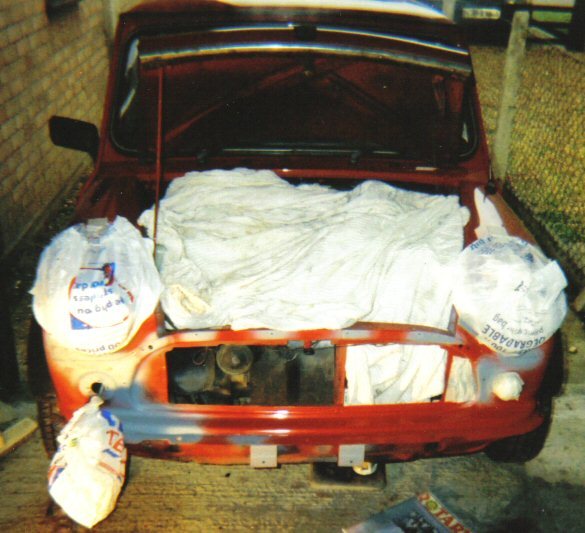
With some coarse 'wet n dry' I removed the paint and old primer from the rust spots. it's a good idea to fill any holes with body filler and smooth them out when dry and to treat rust with a good rust killer like Genolite.
I then used Grey primer lightly spraying about 25cm from the bodywork. I masked off the delicate areas and used an old magazine to block over-spray as I moved around the front of the car spraying.
I repeated every 15 minutes with a new layer of primer.
While each coat was drying I worked on the interior. I removed the carpets because the car had flooded again during a recent downpour. Although I have fitted new door seals I believe the doors were removed or moved previously as the top of the door does not sit plush against the rubber seal. I'm going to have to loosen the doors next weekend and reseat them properly.

I cleaned up the welded areas and removed the old primer and sprayed new primer. I had removed the passenger seat and seatbelt mount to make access easier.
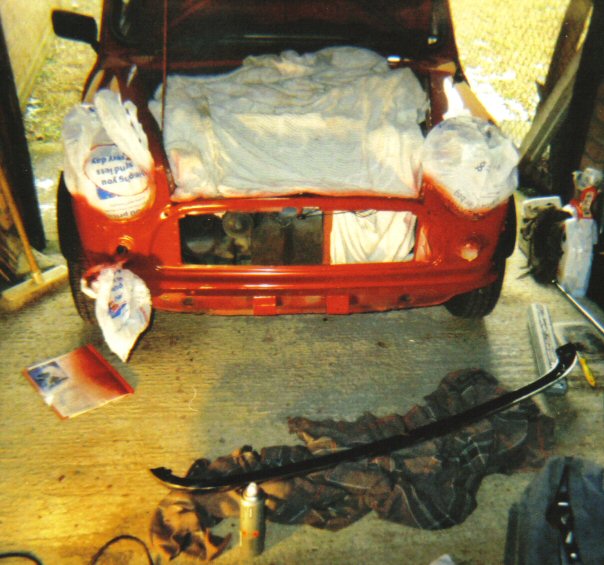
On Sunday I rubbed down the primer with 1200 fine 'wet n dry' until it was smooth and flowed into the surrounding paintwork. I then sprayed with Rover Flame Red paint, again from 25cm away to avoid runs. If you do get any paint runs then after the paint has dried, wipe it down with fine wet n dry until smooth, then respray.
During one 15 minute drying interval I fitted new internal gaskets to both rear light units.
I find that you can speed up the paint drying time with a 400W portable site lamp.
Once I was happy with the paint job I put the passenger seat back in and fitted the seat belt mount to make the car road legal. Then I fitted new indicator lamp lenses, and a new grill to the front.
Before fitting the chrome bumper I turned it over and painted the underneath with black Hammerite paint. Mini bumpers get very wet and dirty underneath over time and so they tend to rust through from the bottom. Painting the underside with Hammerite prolongs the life of your bumper saving you the need to buy a new one every 3 years.

Don't forget to clean your paint brush with hammer paint thinner as ordinary paint thinner wont work.
I rolled the car into the garage to let it dry.
Monday morning before work I got up early to refit the bumper and to carry out a few checks. The car looks a lot better now, well, from the front anyway. Next weekend I'm doing the back and sides.
One thing I did notice when I was looking around the car and under it was that the sub frames are looking rusty. So roll on warmer weather so I can get the car jacked up so I can remove the sub frames and clean them up!
Did you enjoy this article or find the information useful? Help keep Dave and his articles online by keeping him fed with coffee by clicking the link below. Cheers!

Next page - Replacing the rear bumper
Previous page - Rear brakes and welding
Back to the Mini Project Main Menu

This website uses cookies. Click here to learn more about how and why we use cookies.