
Wheel arches and waterproofing doors
Click on the images to enlarge
I removed the rear wheels and bolt-on arches and cheaned and treated the inner wheel arches. I covered the wheel hubs with pastic bags and covered the dampers with masking tape. Then I used black hammerite paint to paint the inner arches to add extra protection.
Once they dried out (after 24 hours) I replaced the wheels and drilled out all the old pot-rivets and cleaned up the bolt-on wheel arches and then resprayed them red with about 6 layers of paint allowing 15 minutes drying time between layers. I had to treat the front wheel arches and buy more cans of paint (Holts lasted 5 mins so I don't recommend them). Once dry I pot-rivetted them back on.
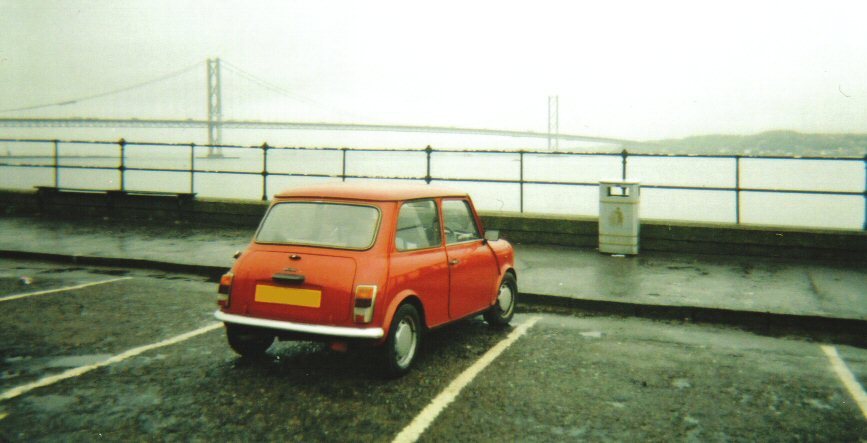
Every time it rained hard the Mini would flood in the front foot wells and it was starting to get seriously annoying. By now I had fitted new door seals and checked the window seals. I even reset the doors so they fit more snuggly against the seals.
All this and the car still let water in. I finally figured that the water was getting in where the outside chrome strip rubber was supposed to meet the glass. It was old and had hardened and there was a small gap between the rubber and the glass. When it rained the water would slide down the glass and past the rubber and into the door. There are several holes in the bottom of the door to let the water out but water coming down in sufficient quantities would collect on the winder mechanism and the inside door skin and drip down the inside of the door past the door seal.
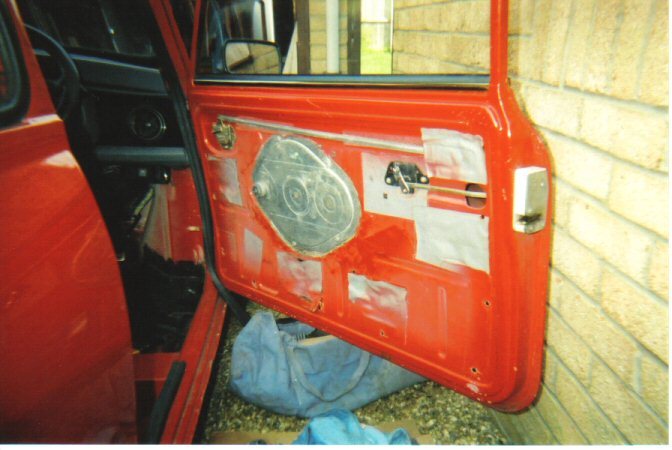
I took the inside of the door off. This is pretty easy. Just remove the door latch handle, winder arm and plastic door handle with a Philips screwdriver. Then with a flat headed screwdriver, pry the plastic rivets out so that the interior door trim comes away. Be very careful not to break the thin chipboard that the interior is stapled too because it can be a pain to put back on. Pry the rivets out with the screwdriver as close to them as possible.
With the interior trim off, its generally a good idea to clean the interior of the door and treat any rust, prime and paint. Then I measured the door trim and cut up some plastic sheeting that is waterproof and durable. I bought some from B&Q for a couple of pounds for several meters.

I used a glue recommended for use with cars and glued around the door where the outer edge of the trim covered, or at least 1cm inwards where you have smooth metal. Then working from the top and the sides downwards, I stuck the plastic sheeting to the glue. The glue should be soft and movable so you should be able to position the sheeting so it is pretty taught. I used a Stanley knife to cut slits in the sheet so that the winder mechanism and door latch etc can peek through.
I did the same to the passenger side then left it all to dry in the garage for 24 hours.
The next day I was ready to put the interior trim back onto the car as I needed to use it. Using a small screwdriver and pressing two fingers against the plastic sheeting either side of the plastic rivet holes I stabbed the sheet with the screwdriver piercing the plastic so that the rivets can pass through the plastic sheeting into the mounting holes.
I then re-fitted the trim popping each rivet into place. Then I reattached the winder arm, door latch and handle and the plastic surround for the door latch which pops in and out easily.
That night it rained and the Mini was outside. The next morning I still had dry carpets!
To finish the job properly I ordered some external chrome window trims with the curved rubber seals attached. I ordered the older style without the plastic ends and only the external ones as there was no water problem on the inside of the glass. They were pretty expensive but they reduce the amount of water passing through the interior of the door. Water still gets in at the edges of the glass but the Mini was designed in 1959 and it is hard to make it completely waterproof. Well for an amateur anyway.
Did you enjoy this article or find the information useful? Help keep Dave and his articles online by keeping him fed with coffee by clicking the link below. Cheers!

Next page - Changing the oil in your Mini and dealing with an MOT failure
Previous page - Replacing the rear bumper
Back to the Mini Project Main Menu

This website uses cookies. Click here to learn more about how and why we use cookies.