
Replacing the rear subframe (part 1)
Click on the images to enlarge
Well I have been putting off this job long enough but it was time to get started on removing the rear subframe. This turned out to be not so straight-forward but also not so bad. I found that both the Haynes Mini and Mini Restoration manuals left a lot to be desired. That said, I persevered and managed to get the ruddy thing off with some help and advice from a veteran Mini enthusiast.
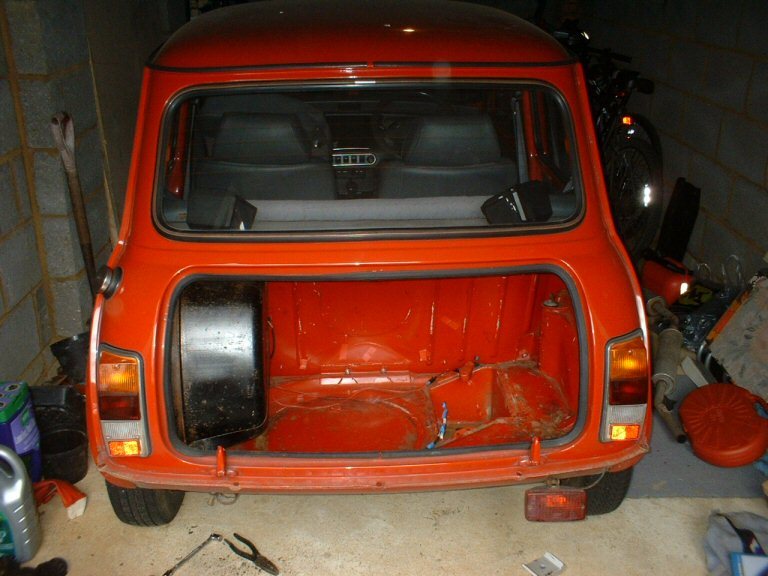
First I removed the rear bumper and boot door along with the number plate light unit. I scribbled the wiring diagram of the unit on a piece of paper and left it inside the light unit so that I could connect it back up properly when it came to putting it all back together. I taped up the wiring and left it in the boot.
I had already removed the battery and removed the cover and the negative lead as I need to do some welding in the boot later once the petrol tank has been removed. The problem was that I could not get the positive lead through the hole in the floor. It needs to go under the car because it is wrapped around the sub frame. There was quite a bit of play in the cable so I cut the wire off at the point where it is crimped into the positive terminal which I will be replacing. I then fed it through the hole and under the car.
Next I needed to remove the exhaust. This was not easy because you have to get down behind the engine to unscrew the retaining clamp that holds the front of the exhaust to the exhaust manifold. I kept banging my head on the bonnet and the garage light was not good enough. My solution was to remove the bonnet. This allowed me more room to manoeuvre and more light.
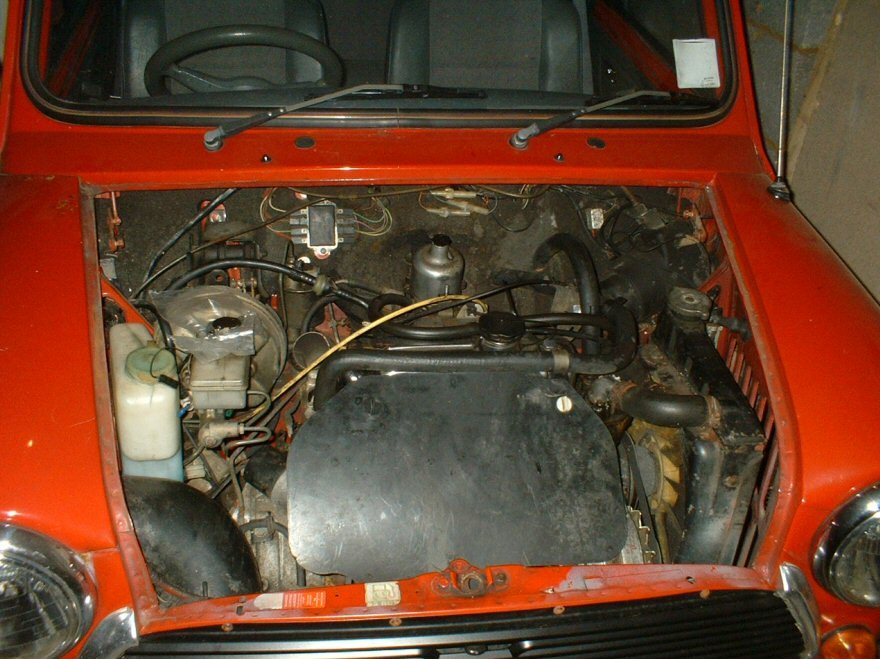
I then jacked up the front of the car a bit so that I can get under to remove the exhaust retaining bolt from the bottom of the engine.
After that it was a matter of propping up the exhaust at the front with a brick as I unbolted the last two exhaust clamps at the back of the car which are attached to the rear sub frame. After that the exhaust sat on the floor.
To get the exhaust out I had to jack the front of the car up so the exhaust would tilt to one side and slide out from under the car.
Next I had to disconnect the brakes but the brake line that connects to the 3-way connector that is mounted to the rear subframes had seized. So I took a plastic sheet and opened up the brake fluid reservoir in the engine bay and placed it over the hole, then placed the cap back on. This should stop air being sucked through the hole in the cap when I bleed the system.
I bled the brakes at the hubs and sprayed the 3-way connector union with WD40. The 7/16 spanner only rounded off the union however so I got a pair of mole grips and locked them on the nut and managed to unscrew the union. This is the middle connector of the 3-way brake T-piece connector that I am referring to which connects the rear brakes to the front.
With the brakes disconnected and the exhaust off all that is left is the subframe itself. Well, not exactly. Don't forget to disconnect the handbrake cable! Hopefully the car is already in gear and the front wheels are chocked. Take off the handbrake and disconnect the cable by removing the two nuts and sliding the cable through the hole in the floor.
Its always a good idea to start spraying the subframe mounting nuts with WD40 every day for at least 3 days before attempting to remove the bolts. Then using an imperial (AF) Hex 1/2 socket, turn the bolt slowly until you feel some resistance. Then tighten it up a bit. Spray some more WD40. Wait a bit and turn it again to undo it. Keep doing this and eventually the bolts should come out. Unfortunately one of the bolt heads snapped off for me.
At this point I would recommend putting a plank of wood across a trolley jack and placing it under the subframe to hold it up.
Using the same technique of undo-tighten-spray-undo remove the bolts from the back of the subframe in and under the car boot area itself.
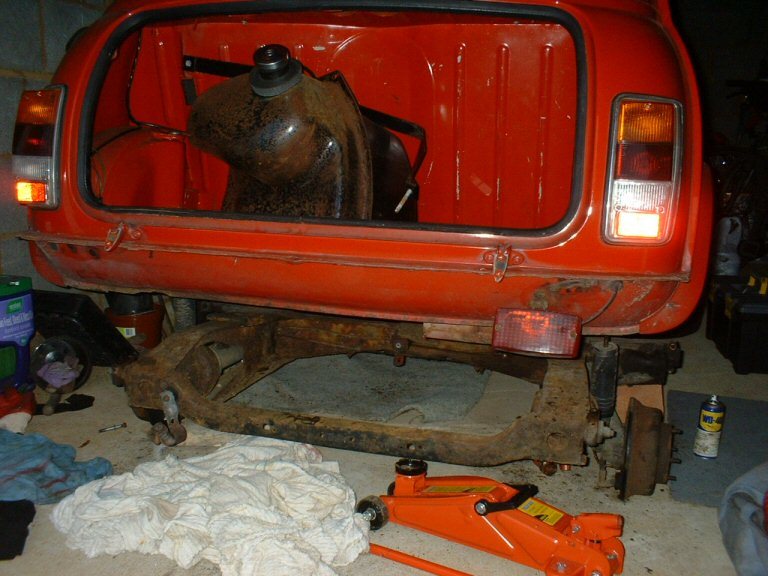
To get at the N/S bolts you need to slide the petrol tank to one side. This is just a matter of unscrewing the retaining strap bolt and removing the filler cap. Then ease the tank to one side and replace the filler cap. Make sure you do not catch or bend the fuel pipe that comes out of the bottom of the petrol tank into the floor of the car.
When you have all four bolts removed you need to unscrew the two nuts from the top of the dampers. These are inside the car boot area above the wheel arches. Using two spanners on the nuts, get a good grip and bring them together until they are loose. WD40 can help you here. Once the top bolt is removed you need to grab the square top of the damper with pliers and use a spanner to get the bottom nut off.
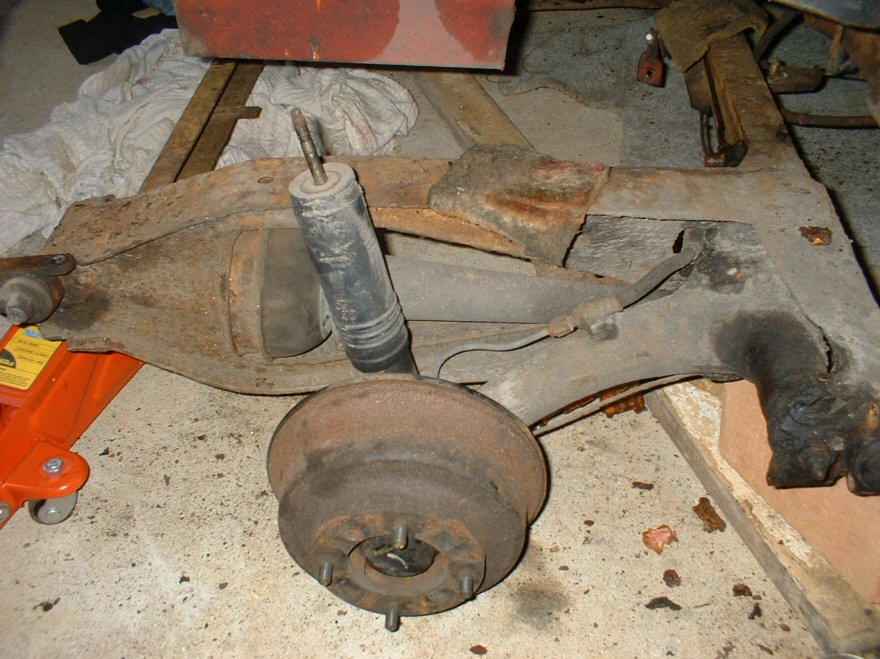
Once both sides have had all 4 nuts removed you are ready to remove the sub frame. Just lower the sub frame using the trolley jack until the rear end clears the body. Then pull the subframe backwards if it is caught on any bolts that sheared off. Then lower to the ground.
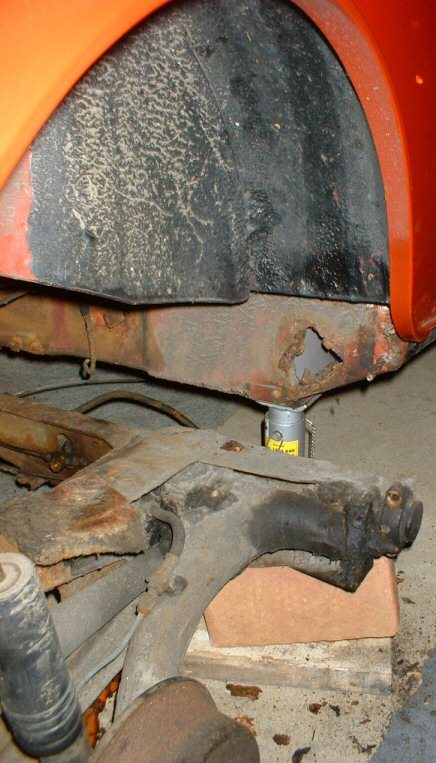
You may find like me that the part of the body behind the rear of the subframe is a trap for dirt and water and can rot away. Luckily I don't have to worry about removing the bolt with the head broken off because that is the side that rotted. You can buy body panels to replace these panels that consist of a shaped piece with the two sub frame mounting holes. They do need to be carefully welded in place however. That's another job I'm not looking forward to!
Did you enjoy this article or find the information useful? Help keep Dave and his articles online by keeping him fed with coffee by clicking the link below. Cheers!

Next page - Removing the petrol tank
Previous page - Rock and roll
Back to the Mini Project Main Menu

This website uses cookies. Click here to learn more about how and why we use cookies.