
Replacing the rear subframe (part 2)
Click on the images to enlarge
With the help of my father we stripped everything from the subframe. The radius arm bolt heads had rounded off so we ended up taking an angle grinder to the sub frame and cut off the mounting points to remove the radius arms. The split pins had rotted and snapped off allowing the clevis pins to come out easily. I also severed the flexible rubber brake hoses as the unions were rusted so much that I had decided to replace the hoses anyway with some better ones.
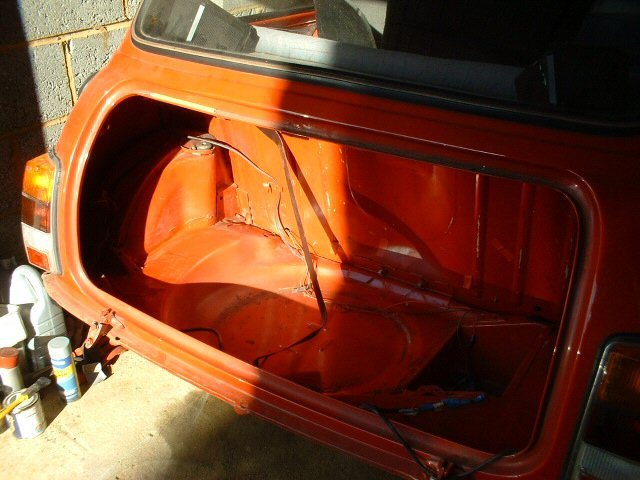
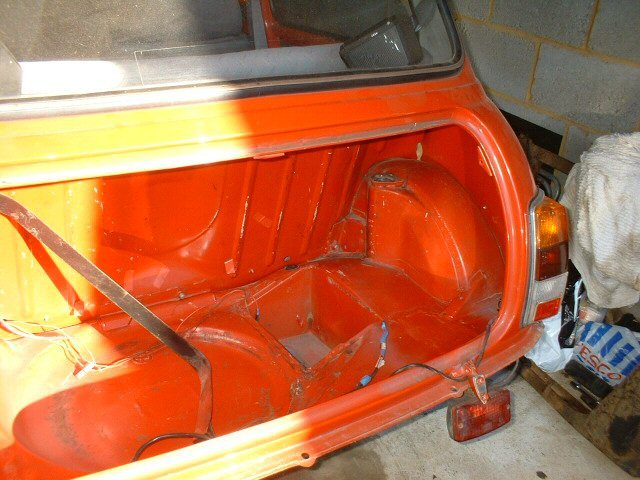
As for the holes inside the car near both rear subframe mounting points, we decided to cut away as much as the old metal as possible. The mounting points themselves were through 3 over-lapping pieces of metal so we welded new pieces of steel cut to shape across the holes. To measure the shape you want, a good tip is to use a piece of cardboard and cut it to shape. Then when happy with the shape, place the cardboard over the sheet metal and draw around it with a pencil. Then use metal cutters to cut out the shape and spot weld it in place. Then seam weld it down followed by some angle grinding. I then used body filler to smooth it down and then primer paint followed by red paint. I used black hammerite paint for the underneath of the car.
I've never welded before so my father let me try. I was not that good at it so he did most of it. We used a MIG welder. I've added it to my must-buy-tools-list.
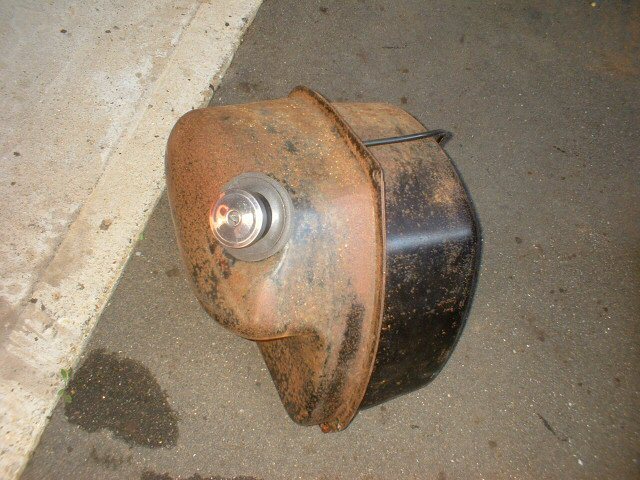
The petrol tank is in need of some TLC. Its pitted with rust so needs a good wire-brushing. I will probably make sure that there is no trace of fuel in it first and leave the top off so any drips evaporate as it's the fumes that ignite rather than the liquid itself. Last thing I need is a spark from vigorous wire brushing to start a fire.. Or worse.
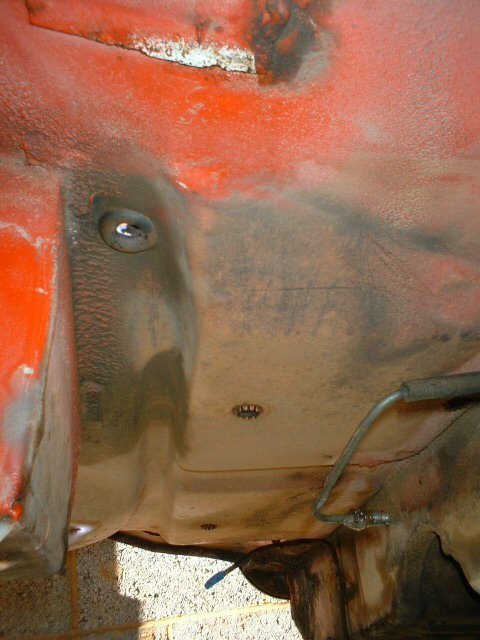
There are a fair few rust spots underneath the car which will require some rubbing down with wet n dry followed by a few coats of rust-eater and then painting with hammerite before I underseal the car. It is taking its time so I think my next tool buy will be a wire brush attachment for my electric drill which should speed up this process. I'm also considering using Waxoyl which comes highly recommended by other Mini owners.
I found a few holes in some more panels while working under the rear of the car with a wire brush!
Did you enjoy this article or find the information useful? Help keep Dave and his articles online by keeping him fed with coffee by clicking the link below. Cheers!

Next page - Overhauling the radius arms
Previous page - Replacing the rear subframe (part 1)
Back to the Mini Project Main Menu

This website uses cookies. Click here to learn more about how and why we use cookies.